As with any workout program or exercise, a 8-15 minute warm-up session is key to preparing the body for what is to come and potentially avoiding any injury during or after the workout. Combining a series of cardio, strengthening and stretching drills, your warm-up should help increase the heart rate, loosen joints and increase blood flow to the muscles. A proper warm-up will also help you mentally get focused for the workout that you are about to perform and help release any stress. The following ten exercises create a great warm-up program for pull-ups or any upper body workout.
1. Shoulder Circles

Standing in a neutral position with shoulders relaxed away from your ears and arms down at your side, slowly and gently start to pull your shoulders back, slightly opening up your chest. Raise your shoulders up and rotate them forward. Work through 8-10 reps. Repeat the exercise in reverse starting with pushing your shoulders slightly forward and then rolling in reverse. You can then add to your shoulder rotations by adding in arm circles.
Standing with feet in a neutral stance and arms out in a "T" form at shoulder height, start with small forward rotation for 6-8 reps. Increase the size of the circular rotation to a medium size for another 6-8 reps and then finish the set off with large forward circles for 6-8 reps working through an entire range of motion. Once you complete your forward circles, repeat the exercise with reverse circles, increasing in size. You may also choose to add in coordination by rotating one arm at a time (similar to a swimming motion) or circulating one arm forward and one arm backwards.
2. Shoulders Oscillations

As with arm circles, shoulder oscillations will help warm up your shoulder, arm and upper back muscles. Holding your arms straight out in a "T" form, altering the position of your hands will help rotate your shoulders, working different muscle groups. Running through a series of 8-10 reps with your palms and thumbs facing different directions (up, down, inward and outward), your shoulders will feel a nice, gentle burn as they warmup.
For a progression step to this warmup, you can use a mini exercise band and hold your arms straight out in front of you with the band looped through your hands. Again, altering the position of your palms and thumbs, plus the added resistance of the band will not only help warm up your arms and shoulders but also work them through a surprisingly challenging workout. Target 30 seconds or pulses in each position with the band.
3. Arm Rotations (with resistance band)

Targeting your shoulders, pectorals, deltoids and trapezius muscle groups, adding a resistance band to your arm circles will not only help extend your range of motion but will also help strengthen your shoulder joints. Be careful not to hyperextend your shoulders beyond your range of motion or use a band that exceeds your strength level. Anchor your resistance band behind you at hip height and face away from the anchor point. Grab the band or handles with each hand and take a step forward to create a slight amount of tension in the band. Keep the palms of your hands facing forwards at all times and slowly rotate your arms in a similar pattern that you did with the arm circle exercises.
Once you complete your series of arm rotations with the band, you can also add in band pulls. Targeting the same muscle groups, hold the band at roughly shoulder width apart, straight out in front of you at chest height. Slowly pull the band apart as your shoulder blades start to squeeze together, then at the same pace, release the tension in the band back to the starting point. As you progress through the exercise, try altering the height and angles in which you hold the band, waist, above head, diagonal. Not only will these exercises help as a pre workout for shoulders, but they will also assist with correcting poor posture.
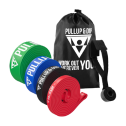
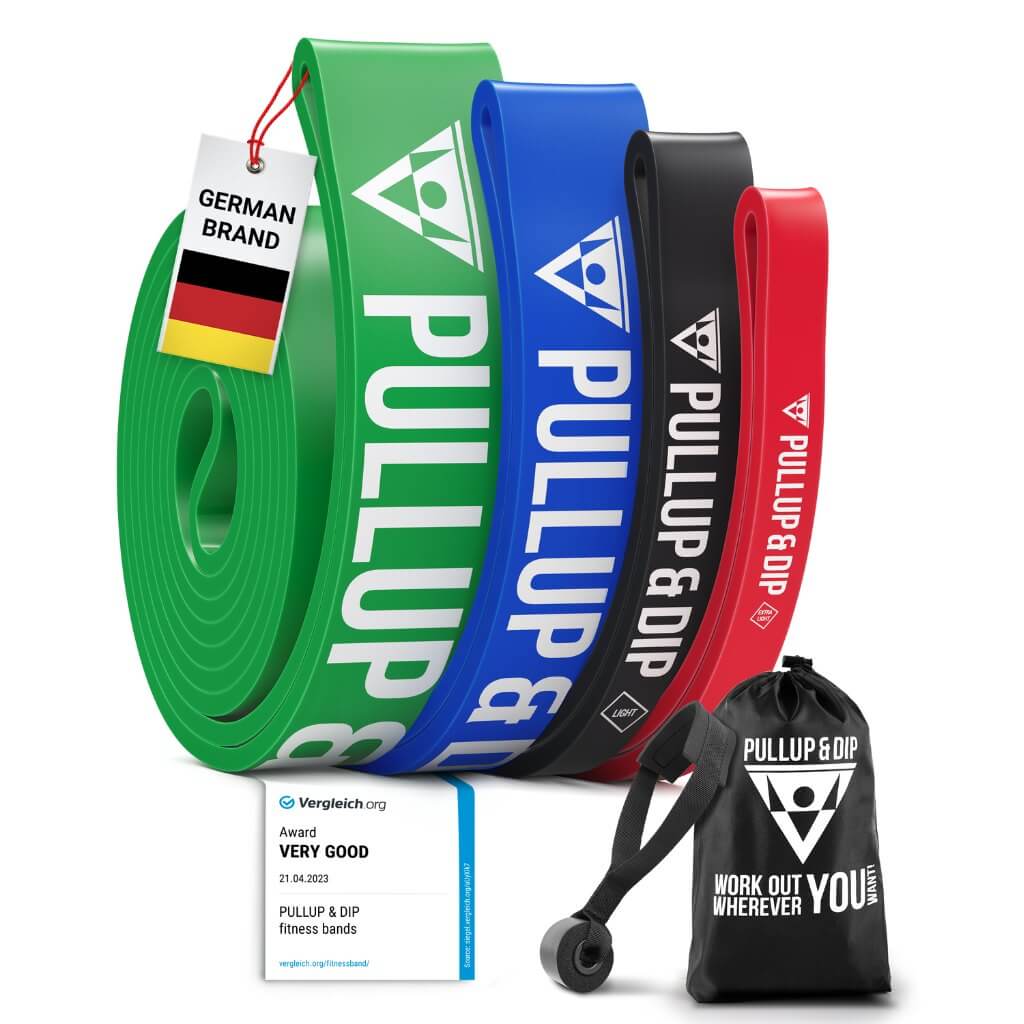
Check our our resistance bands in different strengths:
[product="P-00095"]
4. Resistance Band Rows

You can choose to anchor your resistance band around a pole or place under your feet while standing or sitting with legs straight out in front of you. If you are standing using an anchor point, position the band at approximately sternum height and step back until there is slight tension in the band with your arms reaching straight out in front. Standing in an athletic stance, slowly pull the band towards your stomach, keeping your elbows tight to your sides. Do not let the band pull your arms back in, use the same time under tension to return to your starting point.
If you do not have an anchor point to attach your band to, you can choose to either stand or sit and perform the same exercise. Standing on the center point of your band, grab the loops or handles on either side with your knees slightly bent and hinge at your waist. Keeping your elbows tight to the side of your body, pull the band back until your shoulder blades squeeze together and your elbows are at a 90 degree angle. Seated rows use a similar form with the arms, however back posture is key, making sure that you sit tall with a straight back. With legs straight out in front of you, loop the band around the soles of your feet and perform your rows.
Check out our resistance bands with handles:
[product="P-01006"]
5. Ring Rows
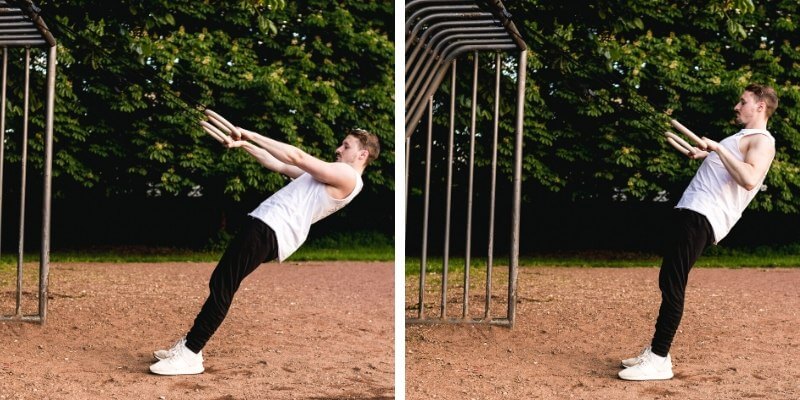
As a progression exercise to pull-ups, ring rows are a great exercise for strengthening your biceps, triceps and back, think of doing an upside down pushup. Whether you choose to use a set of gym rings or a suspension trainer, the challenge with performing the rows comes from the degree in which you position your body from the anchor point and the length of the rings. Set the rings roughly hip height, grip the rings and lean back until your arms are straight. Keeping your back flat, walk your feet towards the anchor point. With your body tight, slowly pull the rings into the sides of your body, pulling your shoulder blades down and back as you would a regular weighted row. You can add alterations of wide rows and single arm rows for targeting different muscle groups or a progression challenge.
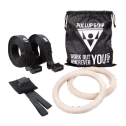
To our wooden gym rings:
[product="P-00080"]
6. Cat-Cow

Most of us are familiar with the cat-cow in table top position. If you would like to perform an advanced version, positioning yourself in a straight arm or forearm plank adds more focus on the arms, shoulders and core. Whichever version you prefer, starting with a neutral spine, the focus is to exhale when rounding your back and pushing your chest forward into cat pose and then inhaling when you drop your belly, creating the dip in your back as you ease into cow pose. Go through each movement slowly, synchronizing your breathing pattern to help with your posture, balance and mental focus.
7. Plank Combinations

Planking provides a great strength, balance and stability workout for your entire body either as a warmup or as a stand alone exercise. With numerous variations, progressions and add-ons there are challenging forms for beginners to advanced that focus on your deltoids, triceps, core muscle group, glutes and quads. Many trainers and athletes prefer planks to traditional sit-ups as it eliminates the pressure placed on the lower back.
Shoulder Tap Plank - Starting with a straight arm plank, place your hands in line with your shoulders and try to have your feet as close together (to make it easier, spread your feet slightly) and stabilize your core. Keeping your abs and glutes engaged, slowly lift one hand off the ground, slowly moving it across your body to tap the opposite shoulder. Make sure that with this movement that your hips remain as square as possible and your body doesn't rotate. Slowly return your hand back to the ground.
Hip Tap Plank - You may choose to use your same hand to tap your hip or just drop your hips from side to side. This plank modification focuses on your obliques (as well as the other muscle groups involved with planking). Depending on your strength and range of motion, you may choose to perform this plank in a straight arm or forearm position. If you are doing straight arm planks, slowly rotate and dip your left hip down towards the ground and at the same time reach back and touch your right hip with your right hand. Return to start and repeat
Knee To Elbow Plank - Another plank that focuses on your obliques, positioning yourself in either a straight arm or forearm plank, embrace your core and drive your knee up to your elbow on the same side. You may choose to run through all your reps on the same side, or alternate legs as if you were marching. You can ramp it up a notch by performing a crossover movement, driving your opposite knee across your body to the opposite elbow. Depending on your range of motion in your hips, you may not get all the way to your elbow. Do not let your hips or shoulders drop when performing this movement.
Crossover Kick Through / Breakdancer Plank - You can perform this plank movement at a slow or fast pace, as both speeds will serve a purpose. By slowly going through the motions, you will work your arm and shoulder strength as well as your core muscles. A faster pace will challenge your cardio. Keeping your upper body straight and with your legs spread apart for a wider base, move one knee up across your body and extend your leg out. You may choose to either touch the ground with your foot, or add an alteration by reaching back with the opposite hand and tap your foot, while performing a single arm plank. With this plank there will be a slight rotation of your hips.
8. Forearm Stretches

There are a few alterations to the kneeling forearm stretch. The first option is to position yourself in a table top form, on hands and knees, place your palms flat and turn your hands so your fingers point towards your knees, slowly lean back until you feel a slight stretch in your forearms and wrists. Another option is to position your hands palm side up and turn your fingers so that they face each other. You can also perform other variations of forearm and wrist stretches either standing or seated with your arms straight out in front of you and by using the opposite hand, slowly and gently, either bend the wrist down and hold with the palm facing inwards, or with the palm facing outward grab your finger tips and press your hand back.
9. Scapulla Pull-Ups (overhand grip)

Before engaging in scapular pull-ups, a simple version of the same movement is to reach your arms straight out in front of you and slowly extend forward and pull backward while maintaining straight arms and just using your scapula. You can also position your arms overhead and using the same muscle groups raise and lower your arms. Both movements initiate from the shoulder with no movement from your arms. Hanging from your pull-up bar, with an overhand grip, you can perform the same movement with all of the work coming from the shoulders as they shrug up towards your ears and then slowly back down. Imagine trying to bend the bar with straight arms as you pull your body upward.
10. Scapula Pull-Ups (underhand grip)

Similar to the overhand grip, your focus is keeping your arms straight. With the underhand grip, your chest and hips may elevate slightly more than with the traditional overhand grip. With similar protraction and retraction scapula movements to that of the overhand grip, you may find that there will be more bicep involvement with this version. As with the overhand grip, make sure that the lower body and core stay tight.
Are you looking for a Pull-up Warm-up routine? Click below!
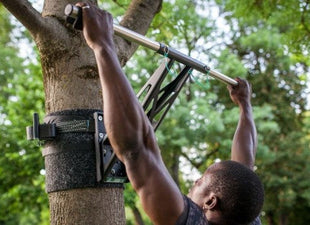
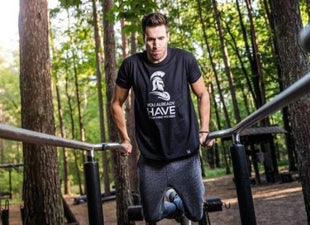
Are you looking for a suitable pull-up bar for indoors & outdoors? We at Pullup & Dip offer you various high quality and unique pull-up bars. Go check them out now!

Recommendes articles:
The 11 Best Pull-Up Equipment To Improve Your Pull-Up Workout
Top 7 pull-up assistances for guaranteed more pull-ups



Leave a comment
All comments are moderated before being published.
This site is protected by hCaptcha and the hCaptcha Privacy Policy and Terms of Service apply.