Dips training belongs to the "basic disciplines" in weight training. With this exercise you strengthen your triceps as well as your big pectoral muscle (especially the lower part) and to a certain extent also the deltoid muscle (especially the front part). Due to these versatile effects and the high training effectiveness, the Dips training is popular among beginners and advanced users alike. However, the exercise is only recommended to a limited extent for strength training beginners, as an enormous amount of force is required to move the weight of the body correctly and thus without injury.
But what does the optimal execution of dips actually look like? And what options are there besides the dip bar in the gym to complete a dips workout? You will get the answers to these questions from us!
Dips training for chest and triceps

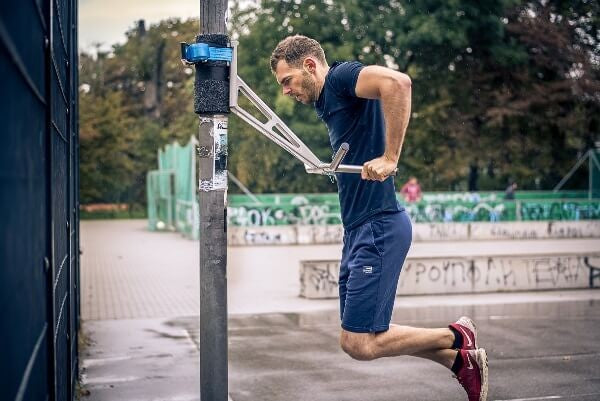
Get into the support position on your exercise machine by grasping the bars in a neutral grip and pushing yourself upward. Be careful not to extend your elbows all the way so that you don't put too much stress on your joints. Now you have two options:
Dips training for chest – Take your chin to your chest and bend your legs backwards. Alternatively, you can stretch them as far back as possible. Meanwhile, the upper body is tilted forward.
Dips workout for triceps – Keep your upper body upright and direct your gaze straight ahead. Your legs should be extended downward.
Regardless of whether your training focus is on your chest or triceps, you begin the execution by bending your arms in a controlled manner: inhale and lower your body downward. The end of the downward phase of the chest dips workout is reached when your upper arms are parallel to the floor. Your elbows will move to the sides during the downward movement. The situation is different when doing dips training for the triceps. In this case you have reached the end of the downward movement as soon as the angle between the upper and lower arms is 90 degrees. Your forearms are parallel to the floor.
Important: In the triceps variation, your elbows do not move outward, but you keep them as close to your body as possible during the entire execution and they point backward.
Once you have reached the end of the first movement phase, exhale and push yourself back to the starting position, i.e., upwards. Again, be careful not to fully extend your elbows. This not only prevents injuries to the joints, but also maintains the tension in the chest and triceps. And it is exactly these muscles that you want to address with the Dips training!
Note: With dips you always address both the chest and the triceps. This means that if you focus on the chest, you will also train the triceps and vice versa. Many athletes underestimate this connection and wonder why your triceps flop so quickly the next day during arm training. Yet you "only trained your chest" the day before....
How to avoid injuries

When performing the dip workout, you must make absolutely sure that you do not fall below the 90-degree angle between the upper and lower arms. Otherwise, there will be a lot of pressure on your elbow joints and especially on your shoulder area - serious injuries and a lot of pain can be the result!
Note: There are strength athletes who swear by the particularly high effectiveness of the training if you fall below the 90-degree angle. However, various sports science studies prove the opposite. According to these studies, not only does training effectiveness not increase, but the risk of injury is increased many times over.
Some options for your dips workout

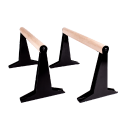
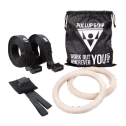
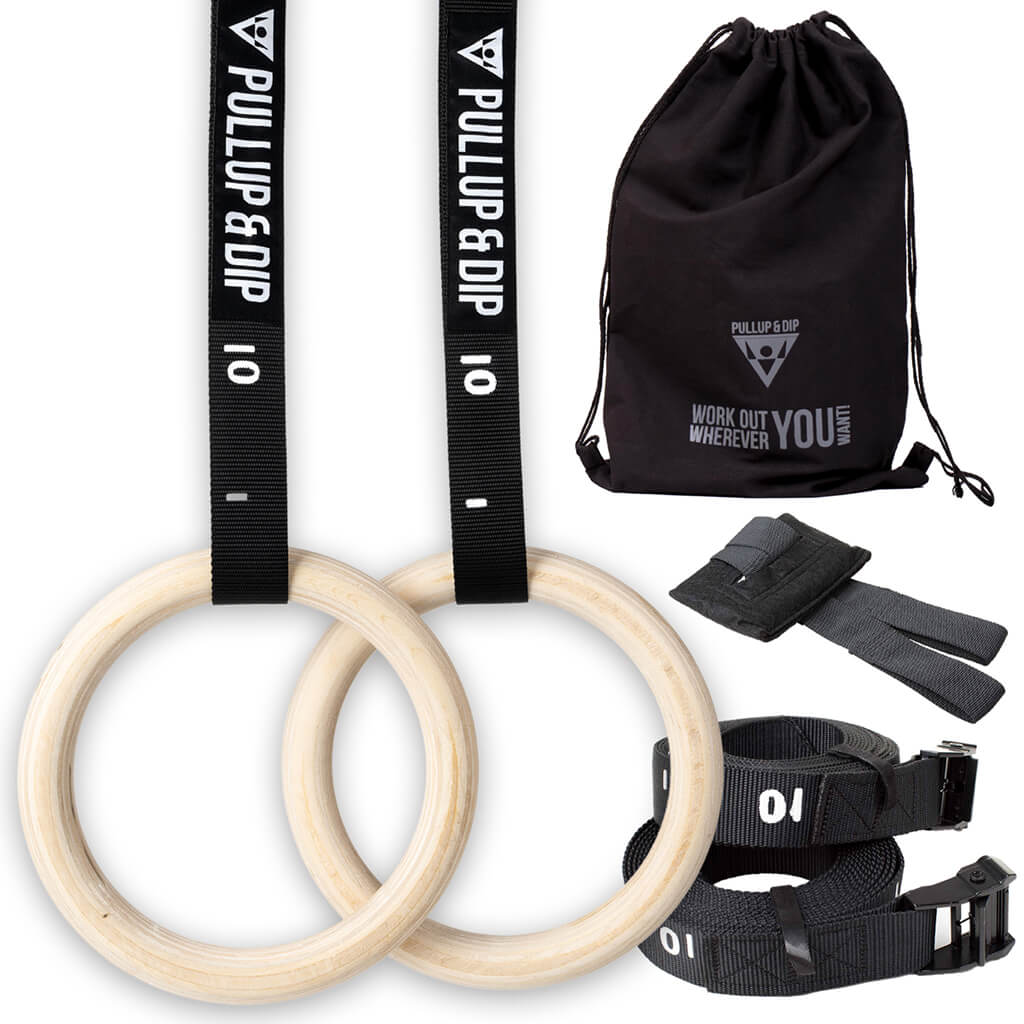
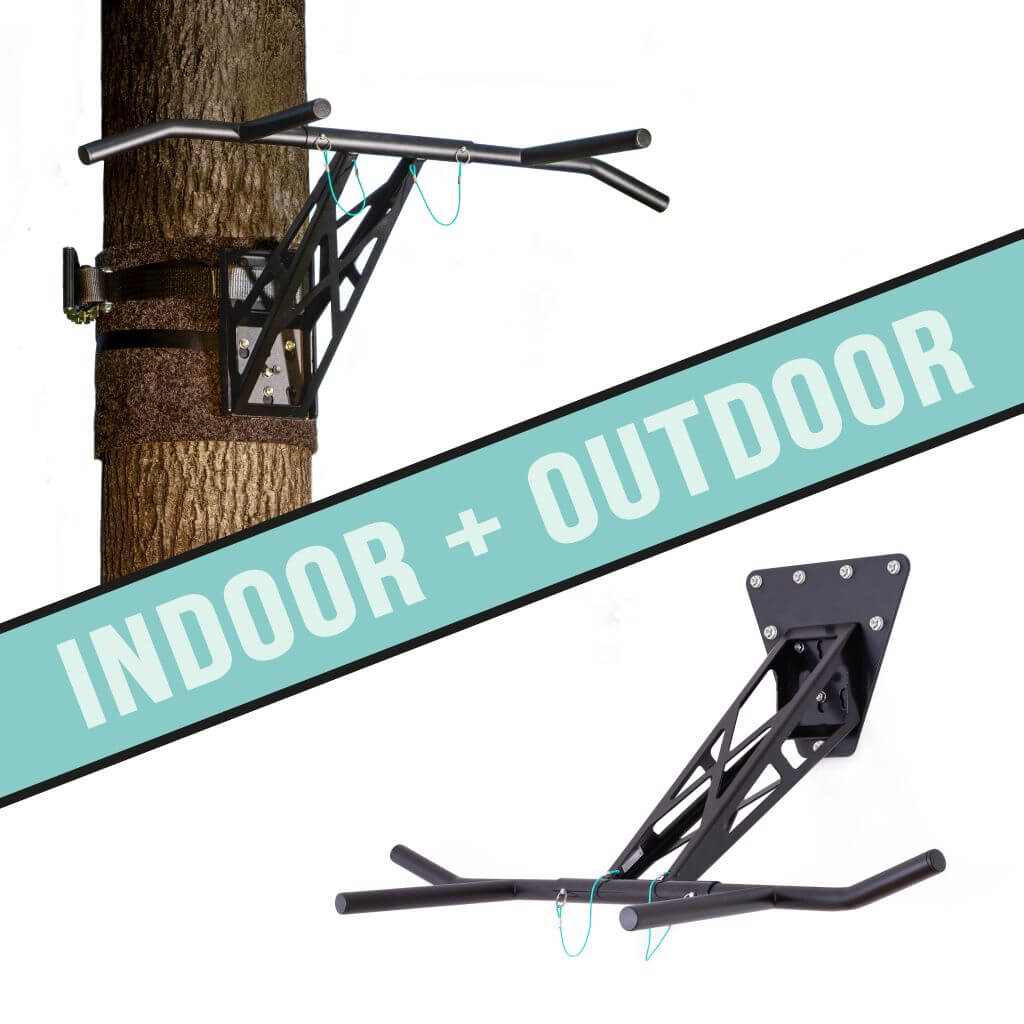
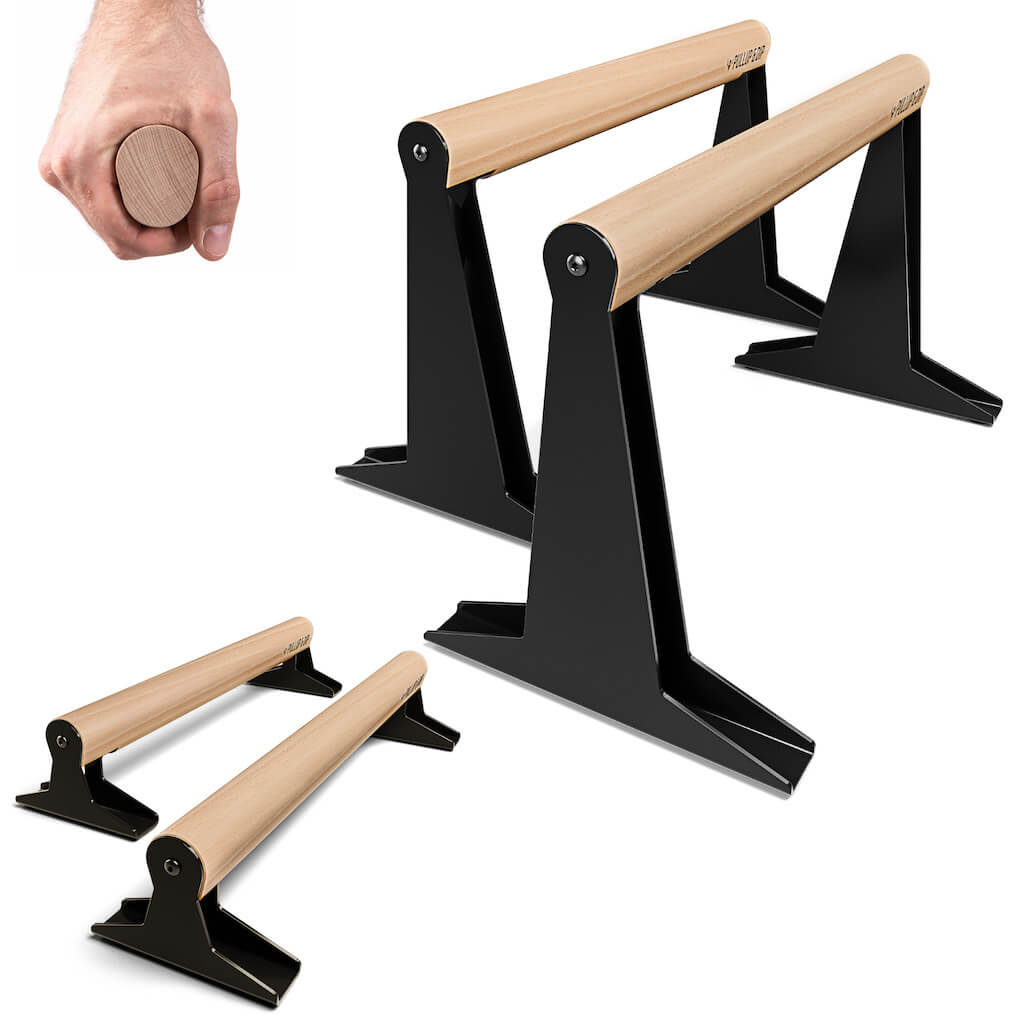
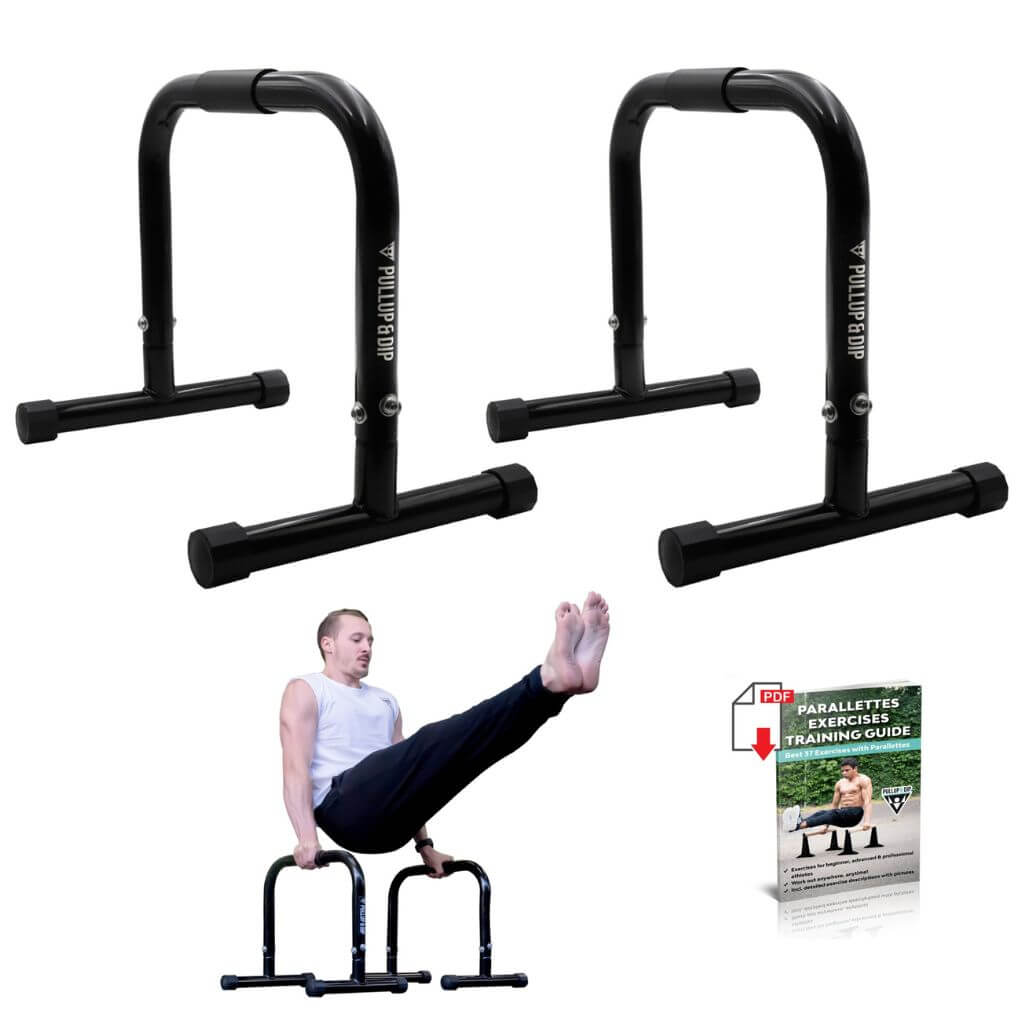
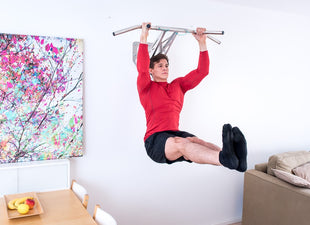
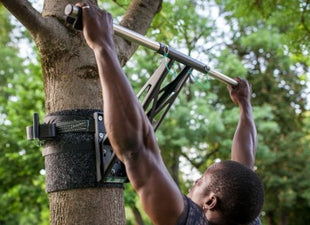
In addition to the traditional dip bar, there are many other options for completing the exercise. For example, you can perform the dips on a chair, on the edge of your bed or even on a park bench. Likewise, gymnastics rings and Parallettes come into question for the execution. However, all these possibilities are far from being able to keep up with the training on the Pullup & Dip bar! Not only can you shift the focus to your chest or triceps, but you can also attach the bar to the wall in such a way that the dips workout can be performed optimally. In addition, you can easily train in nature and the training device can be, as the name suggests, quickly converted into a pull-up bar.
The Pullup & Dip bar is suitable for a variety of exercises and thus replaces the gym. In the long run, this will not only save you money, but also a lot of time!
Final remarks
You now know what the proper execution of dips looks like and what options are available for performing the workout. Follow our tips to make your workout as effective as possible and avoid injuries. And now we wish you a lot of success and fun with your dips training!
Are you looking for a suitable pull-up bar? We at Pullup & Dip offer you various high quality and unique pull-up bars. Go check them out now!

Recommended articles:
How to achieve 20 pull-ups in a row - 7 tipps



Leave a comment
All comments are moderated before being published.
This site is protected by hCaptcha and the hCaptcha Privacy Policy and Terms of Service apply.